If you have any further queries please contact our customer service team on 0121 328 7507 or email at ‘contact@jllfitness.co.uk’
TOOLS
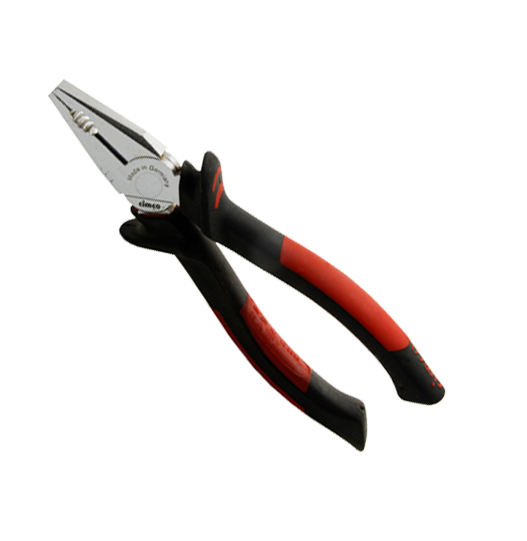
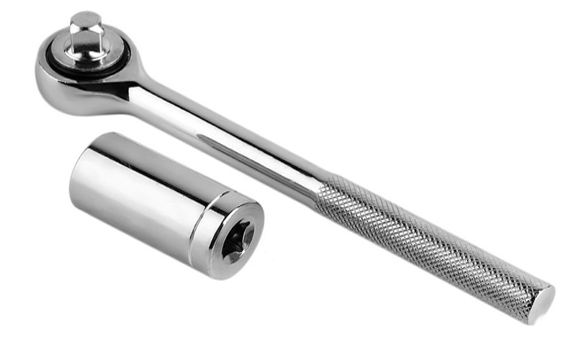
1 x Pliers 1 x 8 mm Socket Sets
INSTRUCTIONS
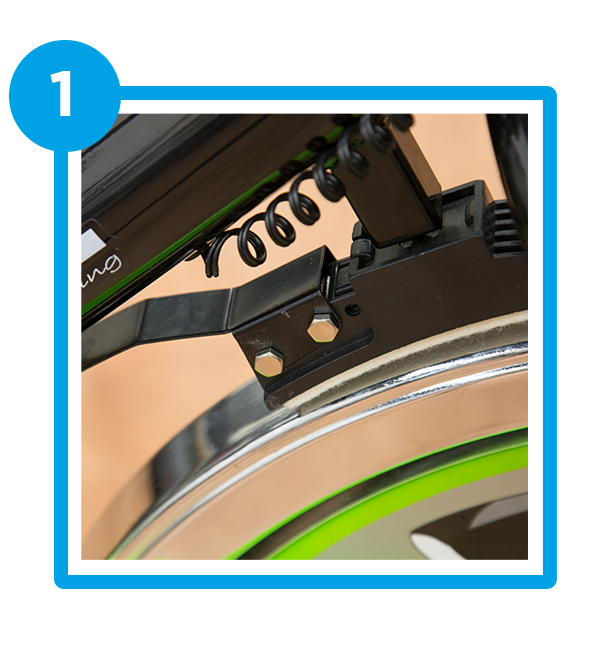
1. You will see the bolt on one side
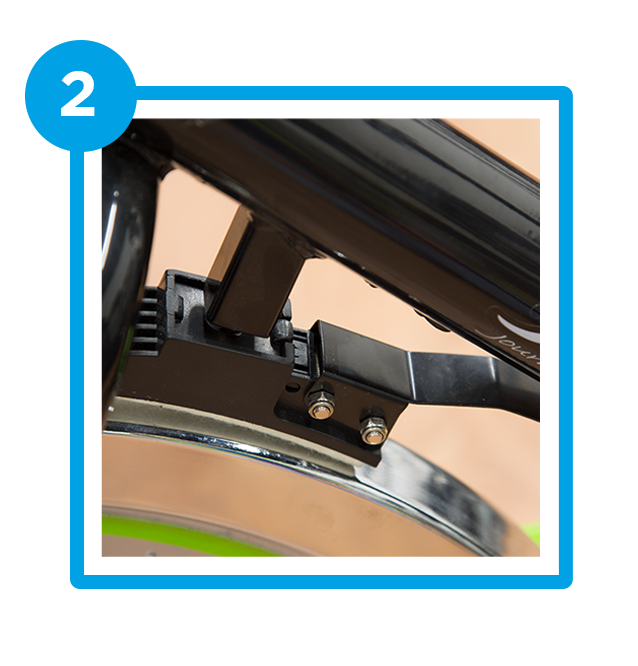
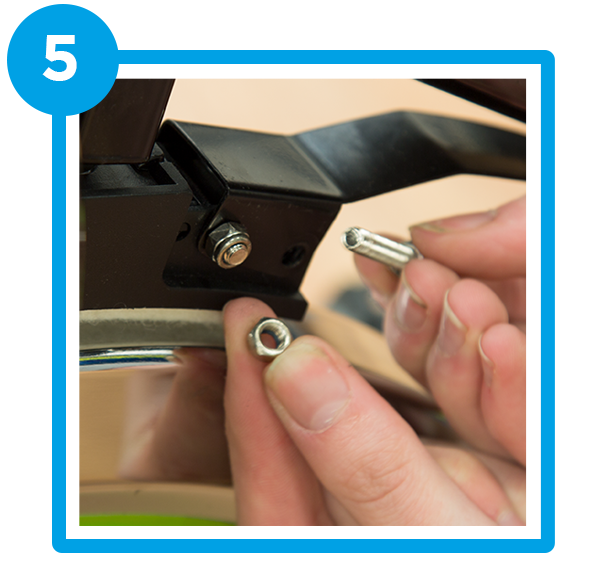
2. And the nut on the other
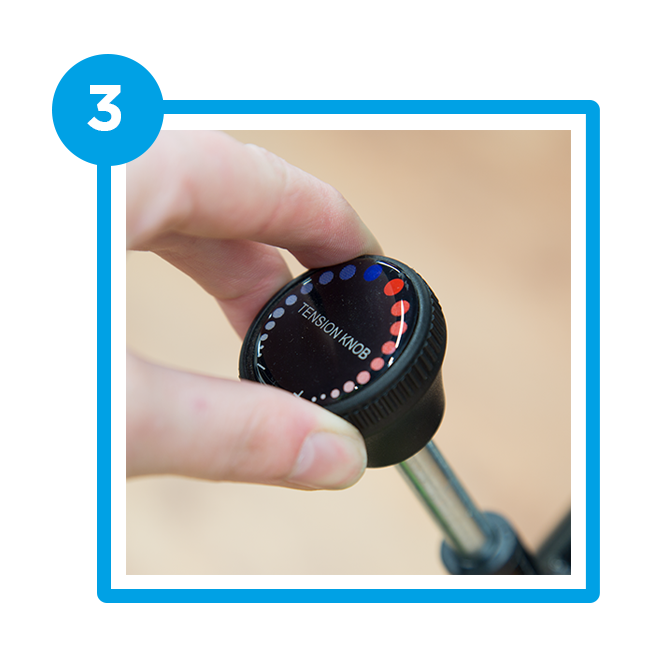
3. Make sure to start by turning the resistance all the way down
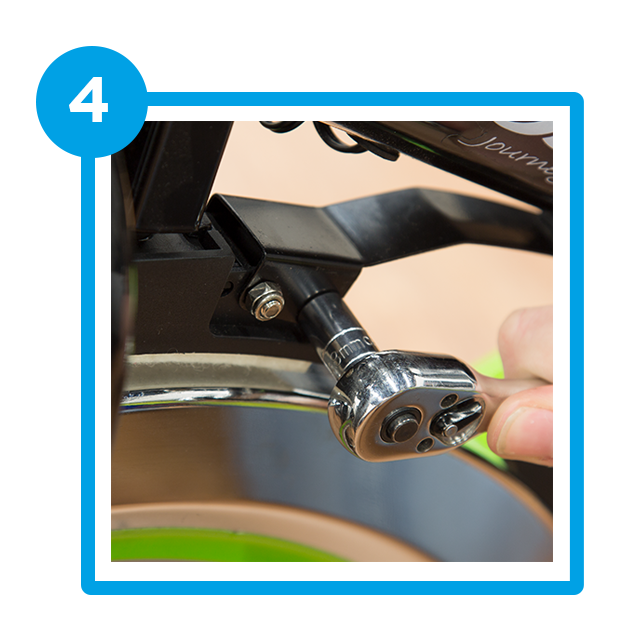
4. Use the socket set to turn the nut anticlockwise
5. Then simply pull out the bolt
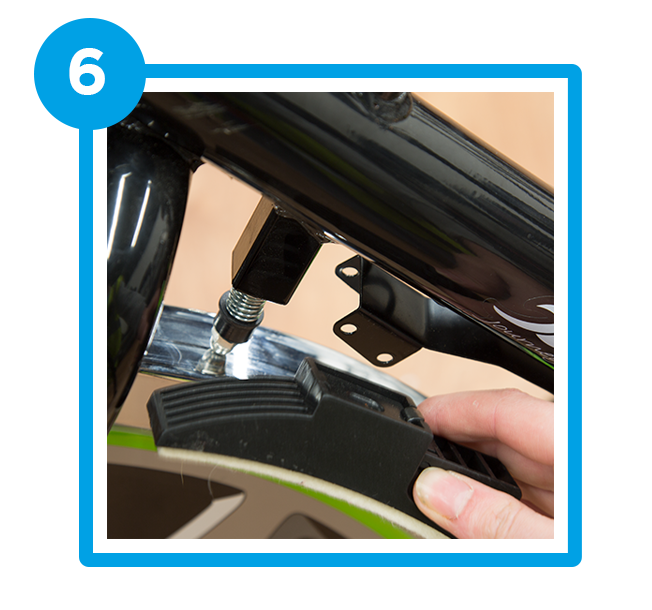
6. The brake pad should now be free to slide out
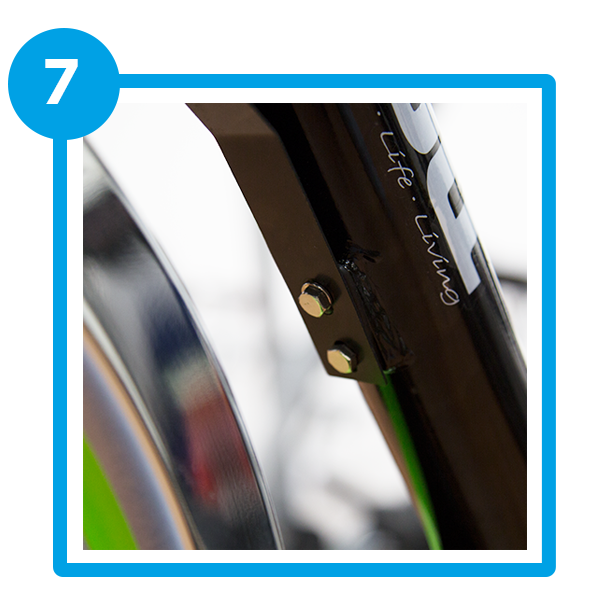
7. If you need to replace the bracket as well remove the two bolts underneath
ADVICE
The pliers and socket set are not apart of the assembly kit.
These can be purchased at local tool retailers.
Any tools can be used so long as they can grip the bolts to turn them.
You will need to replace the pad when it begins to look fluffy or worn, you may also hear a slight noise from the flywheel this will indicate the pad needs to be changed.
The length of time between replacing the brake pads will vary depending on the amount of use and the intensity of each workout.